


Introduction
If you’re looking to showcase your collection, learning how to build a gun wall display at home is one of the best upgrades you can make. Not only does it improve organization, but it also transforms your space into a clean, professional display area. However, building it the right way requires planning, safety awareness, and the right materials.
In this guide, you’ll learn exactly how to build a gun wall display step by step, along with expert tips to make it look high-end and secure.
Step 1: Choose the Right Location
Before you start building, you need to select the best wall.
What to Look For
- A dry, climate-controlled area
- A wall with strong structural support
- Limited foot traffic for safety
- Enough space for expansion
Additionally, avoid exterior walls with moisture issues, as they can damage your collection over time.
Step 2: Plan Your Layout
A great display starts with a solid plan.
Layout Tips
- Measure your wall dimensions
- Map out spacing between items
- Group similar pieces together
- Leave room for future additions
You can sketch your layout or use painter’s tape on the wall to visualize placement.
Step 3: Choose Your Display System
There are several ways to build your wall display.
Popular Options
1. Slatwall Panels
- Highly customizable
- Easy to rearrange
- Clean, professional look
2. Pegboard Systems
- Budget-friendly
- Flexible setup
- Easy installation
3. Fixed Wall Mounts
- Minimalist appearance
- Strong and secure
- Best for permanent layouts
Each option has its advantages, so choose based on your style and budget.
Step 4: Install the Wall System
Once you’ve chosen your system, it’s time to install it.
Installation Basics
- Locate wall studs using a stud finder
- Use heavy-duty anchors if needed
- Ensure everything is level
- Secure panels tightly to the wall
Taking your time during installation ensures long-term stability and safety.
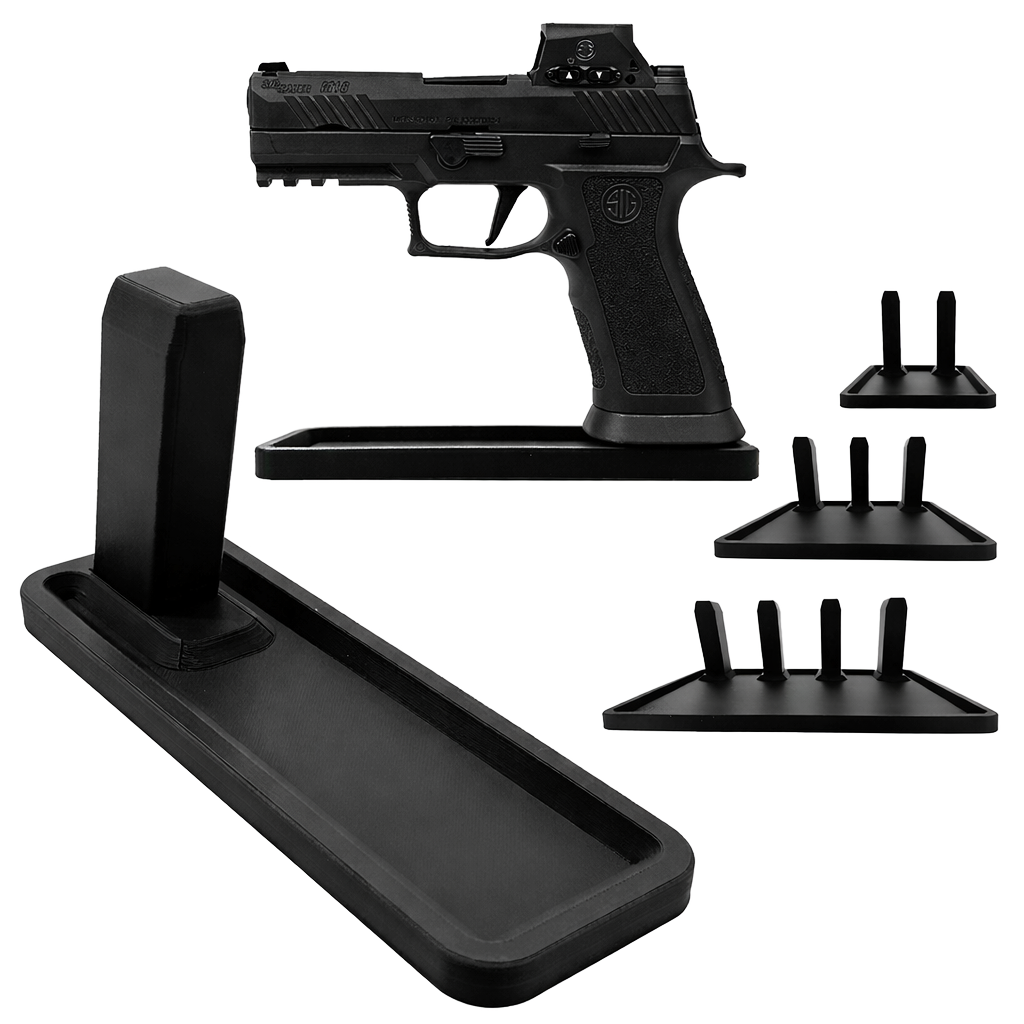
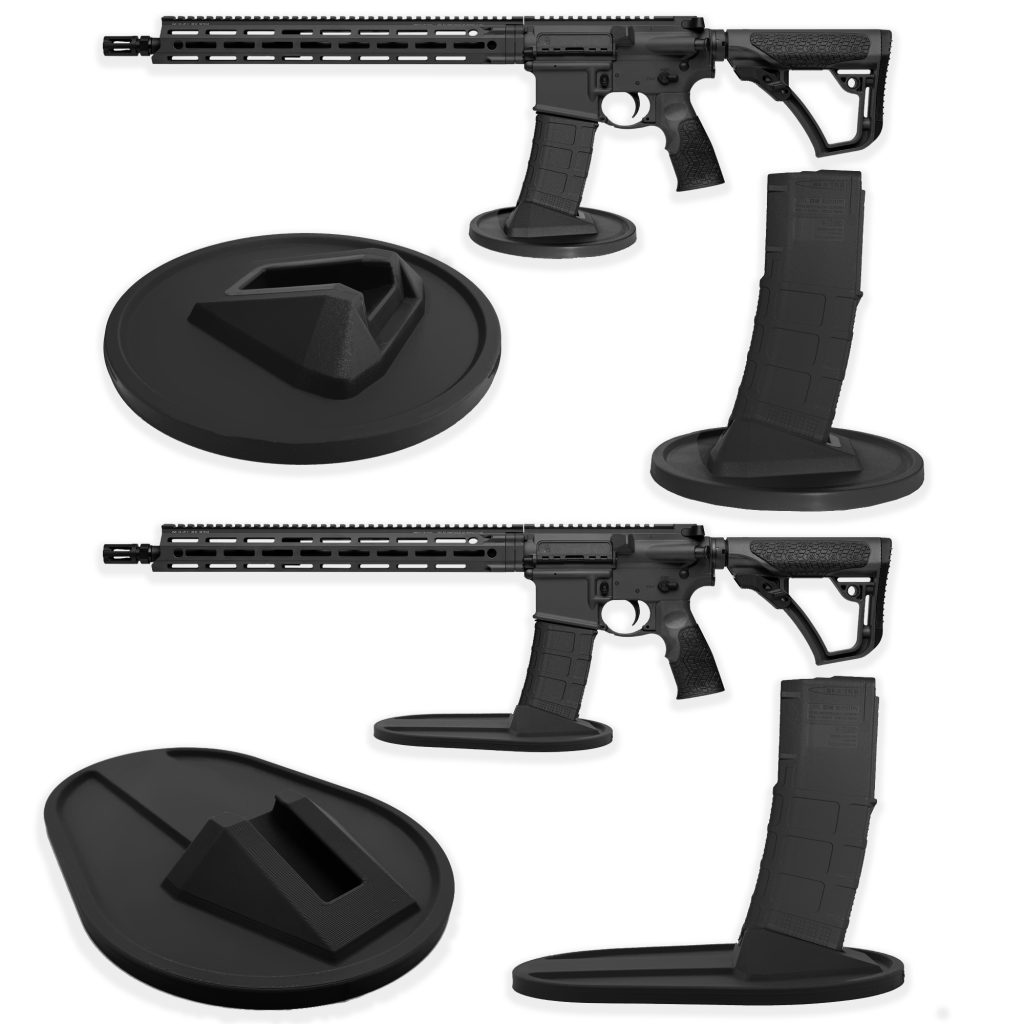
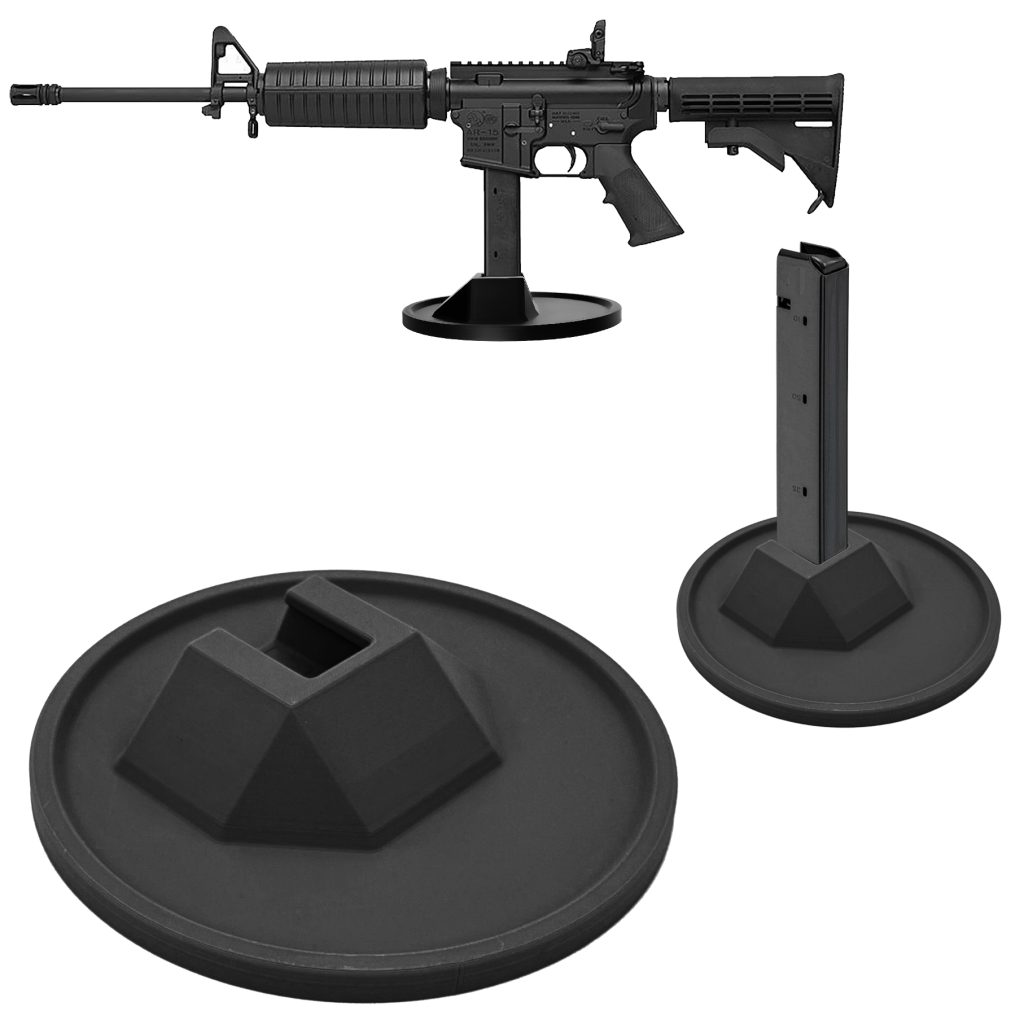
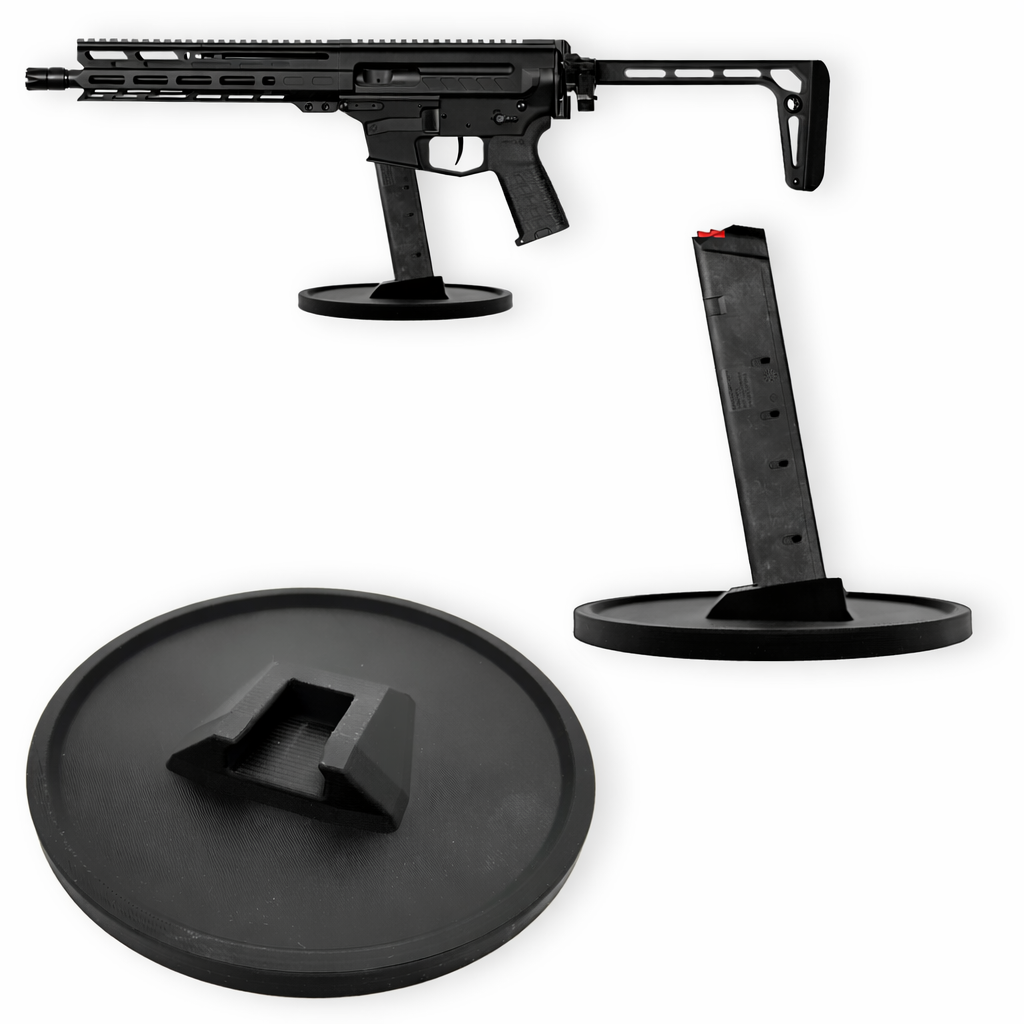
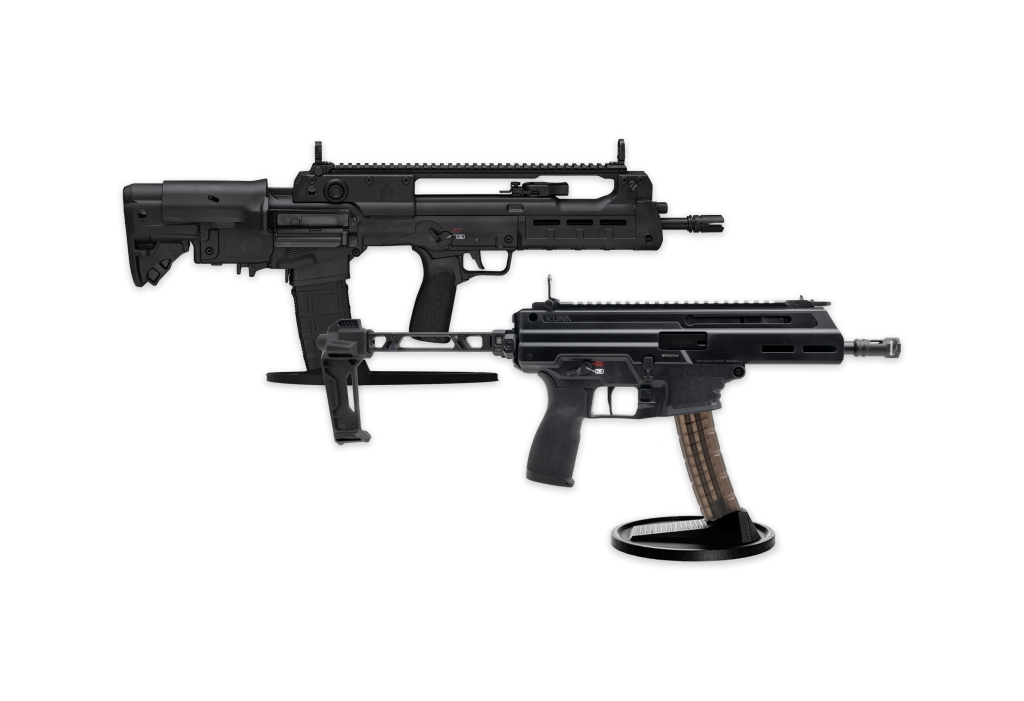
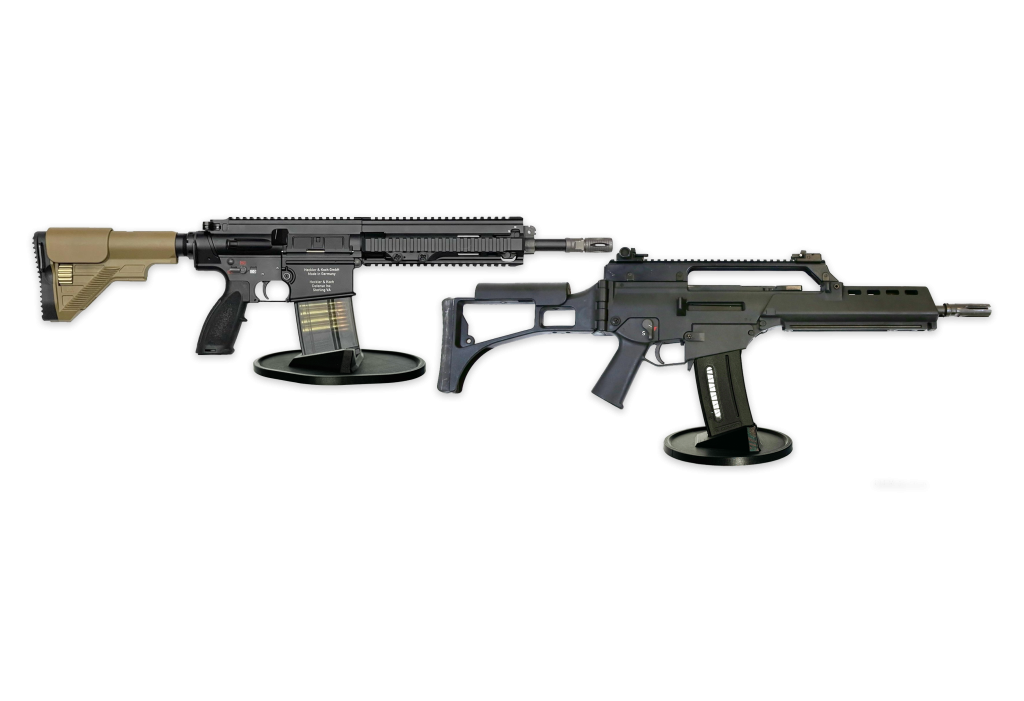
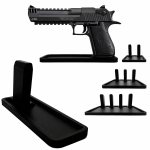
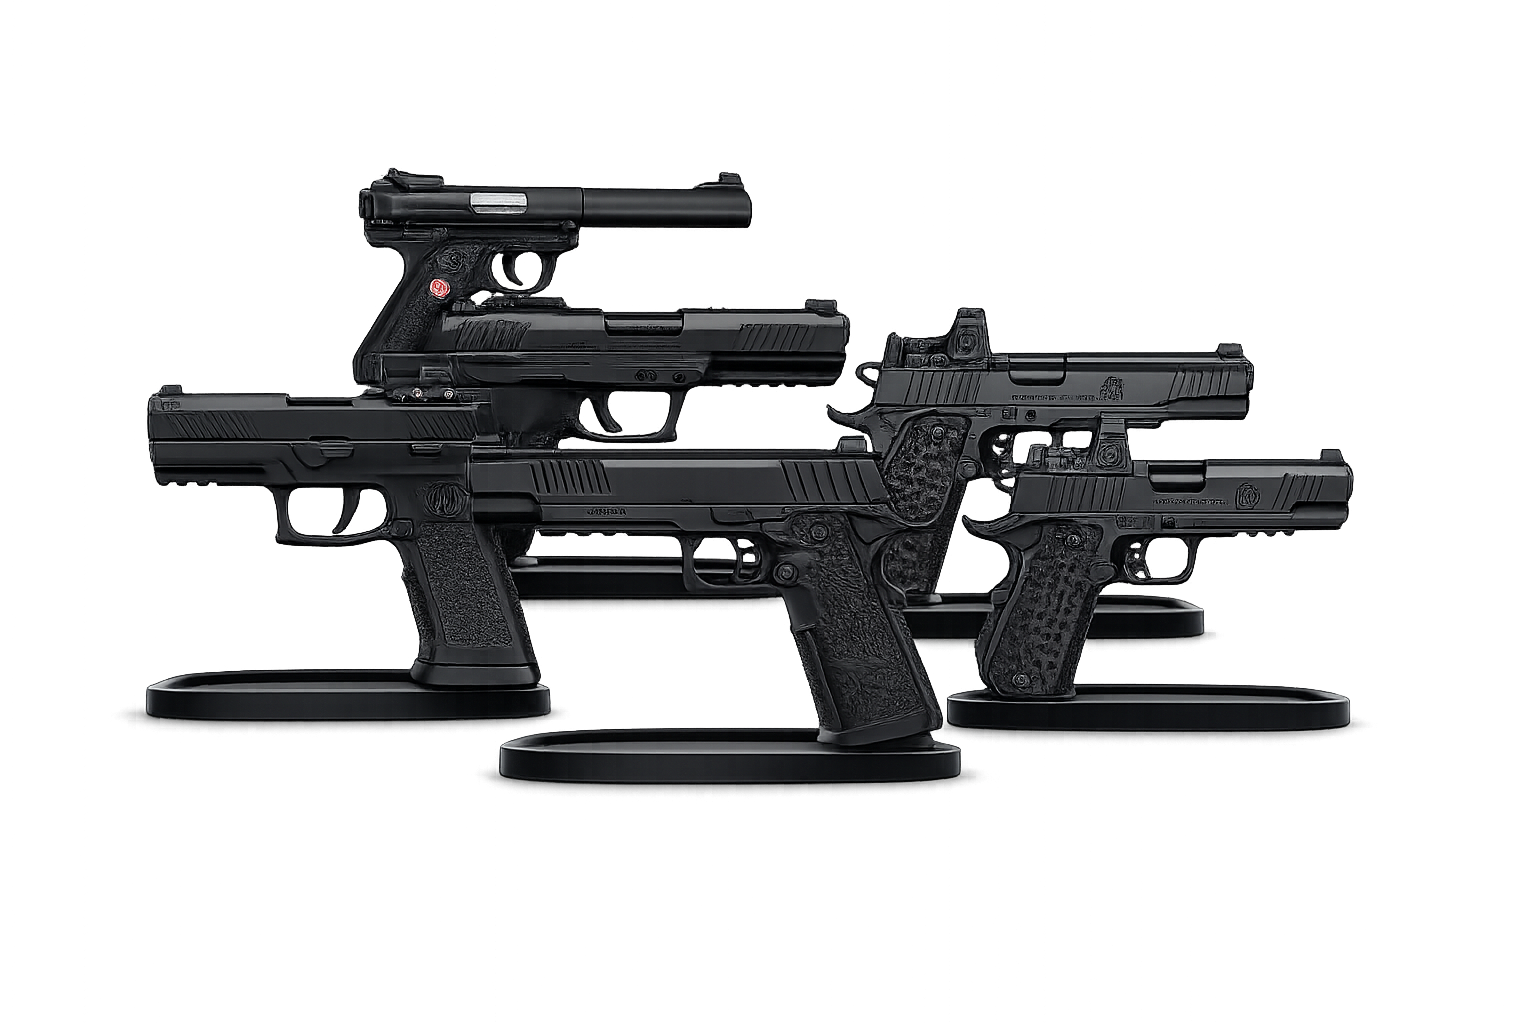
Step 5: Add Mounts and Stands
Now you can start placing your collection.
What to Use
- Wall mounts for vertical display
- Display stands for added support
- Hooks or brackets for accessories
Make sure each item is properly supported to prevent damage.
Step 6: Incorporate Lighting
Lighting can take your display to the next level.
Best Lighting Options
- LED strip lights
- Spotlights for featured pieces
- Backlighting for depth
Good lighting not only improves visibility but also enhances the overall aesthetic.
Step 7: Focus on Safety
Safety is critical when building a display at home.
Safety Guidelines
- Use locking mounts if possible
- Keep items unloaded
- Store ammunition separately
- Consider a security system or camera
Responsible display practices protect both your collection and your household.
Step 8: Style Your Display
Once everything is installed, it’s time to make it look great.
Design Ideas
- Use a wood or textured backdrop
- Add framed artwork or signage
- Keep spacing clean and consistent
- Stick to a color theme
A well-styled wall creates a showroom-quality finish.
Common Mistakes to Avoid
Even a solid plan can go wrong without attention to detail.
- Overcrowding the wall
- Using weak mounting hardware
- Ignoring lighting
- Skipping safety measures
Avoiding these mistakes will save time and frustration.
Pro Tips for a High-End Look
If you want your display to stand out, focus on the small details.
- Align everything evenly
- Use symmetry where possible
- Highlight key pieces with lighting
- Keep the area clean and uncluttered
These finishing touches make a huge difference.
Conclusion
Learning how to build a gun wall display at home gives you the ability to turn your collection into a centerpiece. With the right planning, materials, and safety measures, you can create a setup that is both functional and visually impressive.
Start simple, build with quality, and refine your display over time. The result will be a space that reflects your style and passion.