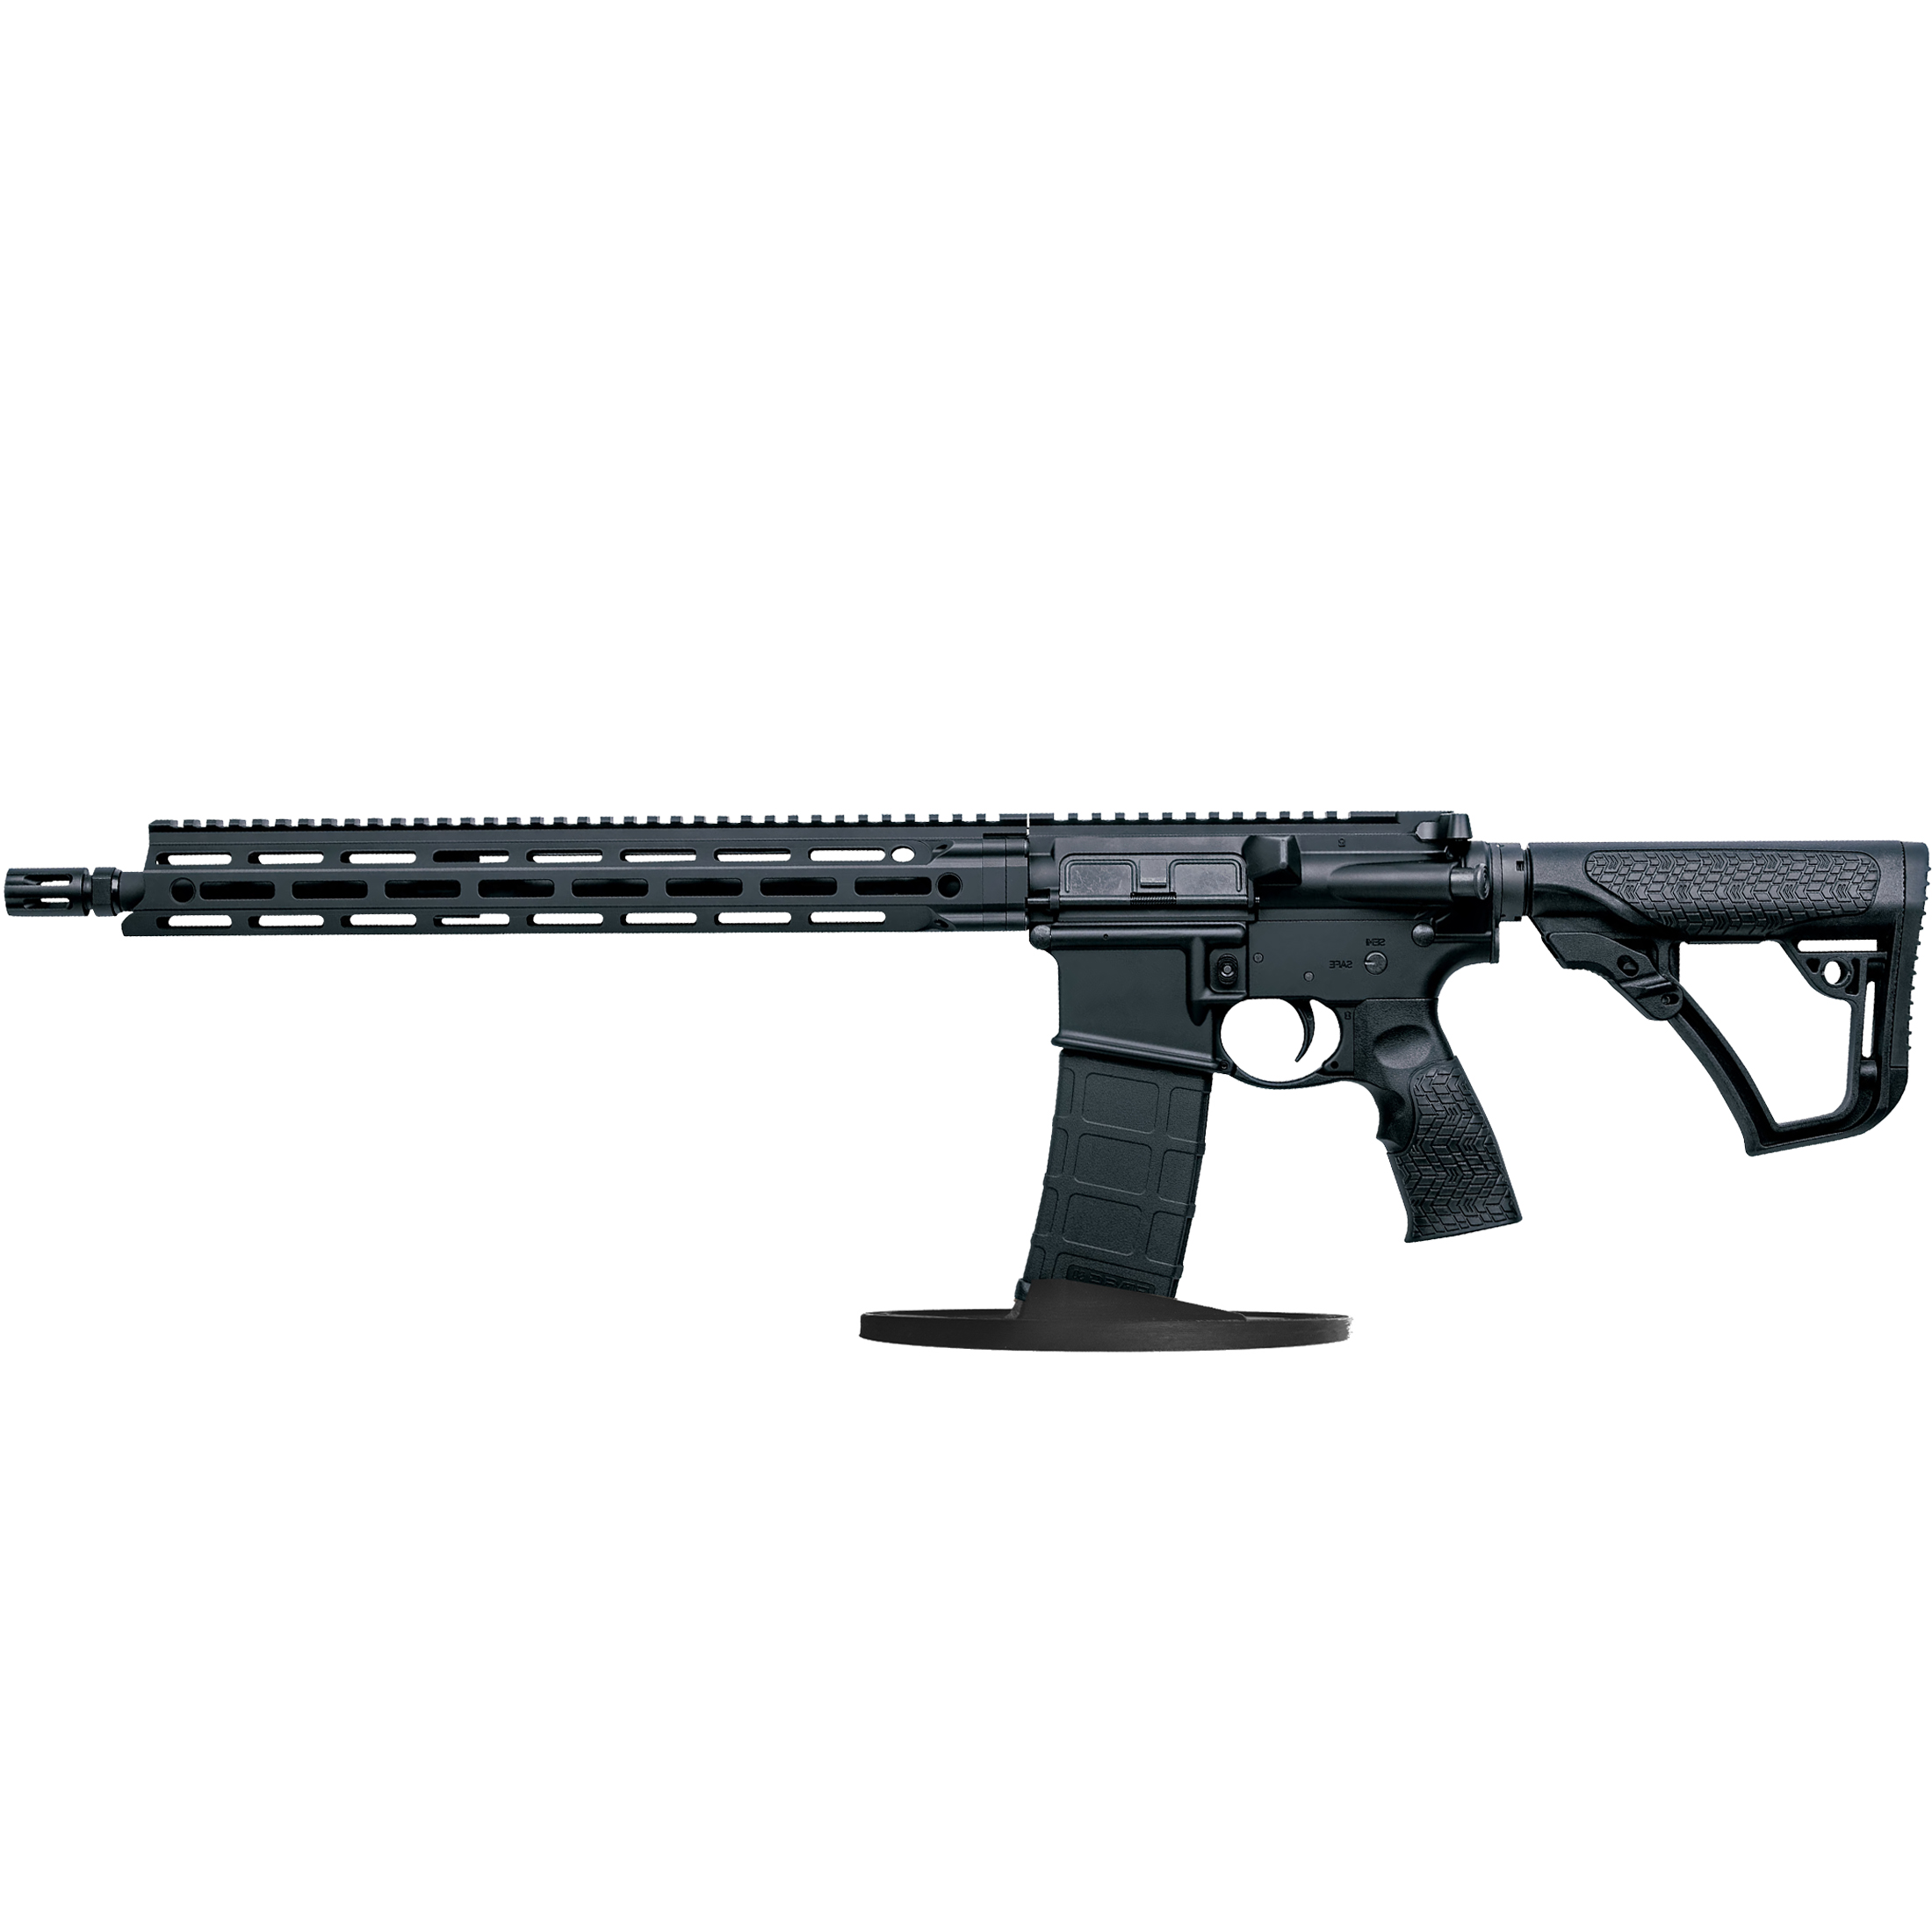
Categories:
Building an AR-15 requires meticulous attention to detail and a strong understanding of the gun’s components. This guide will provide a basic overview of assembling an AR-15, but always consult the manual provided with your specific components, as manufacturers may have specific requirements. Remember to always follow safety protocols.
This is a general guide. The actual assembly can be more detailed, and certain steps might require specialized tools. Always ensure that you are complying with local laws and regulations when assembling or modifying guns.
1. Safety First
– Ensure your work area is clean and free of ammunition.
– Wear safety glasses.
2. Tools You’ll Need
– AR-15 armorer’s wrench
– Roll pin punches and hammer
– Allen wrenches
– Needle-nose pliers
– Small rubber mallet
3. Assemble the Lower Receiver
a. Trigger Assembly:
1. Insert the trigger into the lower, aligning its holes with the receiver holes.
2. Insert the trigger pin, ensuring it goes through both sides of the receiver and the trigger assembly.
b. Hammer Assembly:
1. Place the hammer into position over the trigger.
2. Align the holes and insert the hammer pin.
c. Safety Selector and Pistol Grip:
1. Drop the safety selector into its slot.
2. Position the pistol grip so that it holds the safety detent in place, then screw the grip into place.
d. Install the Bolt Catch:
1. Place the bolt catch spring and plunger into their hole.
2. Position the bolt catch and use a punch and hammer to install the roll pin.
e. Magazine Catch:
1. Insert the magazine catch into its hole from the left side.
2. Screw the magazine button onto the magazine catch from the right side.
f. Stock Assembly:
1. Slide the buffer tube into the back of the lower receiver.
2. Use the armorer’s wrench to tighten it.
3. Insert the buffer spring and buffer.
4. Assemble the Upper Receiver
a. Barrel Installation:
1. Slide the barrel into the front of the upper receiver.
2. Use the armorer’s wrench to tighten the barrel nut.
b. Gas Block and Gas Tube:
1. Slide the gas block onto the barrel.
2. Insert the gas tube into both the gas block and the upper receiver.
c. Handguard Installation:
1. Slide the handguard over the barrel and onto the upper receiver.
2. Tighten any necessary bolts or clamps.
d. Bolt Carrier Group (BCG) and Charging Handle:
1. Slide the charging handle into the upper receiver.
2. Insert the BCG, ensuring it slides into the charging handle.
5. Marrying the Upper and Lower Receivers
1. Align the pivot pin holes on both the upper and lower receivers.
2. Push the pivot pin in from the left side.
3. Swing the receivers together.
4. Push in the takedown pin.
6. Final Checks
– Perform a function check: with the gun unloaded, pull back the charging handle, release, and pull the trigger. The hammer should drop.
– Retract the charging handle again, release, and while holding down the trigger, pull back and release the charging handle once more. Release the trigger. A click should be heard.
Remember, safety first! Before attempting to use your newly assembled AR-15, it’s advised to have it inspected by a professional gunsmith to ensure everything has been done correctly. Always follow proper safety guidelines when handling guns.



Colt
Colt M4 Carbine
Colt LE6920
Colt AR-15 A4
Daniel Defense
DDM4 V7
DDM4 V9
DDM4 V11
DDM4 ISR (Integrally Suppressed Rifle)
Smith & Wesson (S&W)
M&P15 Sport II
M&P15 Tactical
M&P15T
Bravo Company Manufacturing (BCM)
BCM Recce-16
BCM Recce-14
BCM MCMR Series
Aero Precision
M4E1 Series
AC-15
AR15 Pistol (Various Configurations)
Ruger
Ruger AR-556
Ruger SR-556
Ruger AR-556 MPR (Multi-Purpose Rifle)
Springfield Armory
Saint Victor
Saint Edge
Saint AR-15
PSA (Palmetto State Armory)
PSA PA-15
PSA AR-V
PSA Jakl (AR Pistol)
FN America
FN 15 Tactical Carbine
FN 15 Patrol
FN 15 DMR
Wilson Combat
Recon Tactical
Super Sniper
Protector Carbine
SIG Sauer
SIG M400 Tread
SIG M400 Elite
SIG M400 SDI
LWRC International
IC DI (Direct Impingement)
IC SPR
IC A5
Bushmaster Guns
XM-15 QRC
Bushmaster MOE
XM-15 Patrolman
Rock River Arms
LAR-15 Entry Tactical
LAR-15 Predator
LAR-15 Elite Comp
Stag Arms
Stag 15 Tactical
Stag 15L (Left-Handed Models)
Stag 15 Valkyrie
Noveske Rifleworks
Noveske Gen 4 N4
Noveske Space Invader (AR Pistol)
Noveske Recon
Anderson Manufacturing
AM-15 Optic Ready
AM-15 M4 Carbine
AM-15 Precision Rifle
Adams Arms
AA-15 Piston Rifle
P2 AARS (Adams Arms Rifle Series)
Black Rain Ordnance
SPEC15 Series
BRO Predator
Fallout 15
Diamondback Guns
DB15 Series
DB15CCMLB
DB15EB
Del-Ton Inc.
DTI-15
Del-Ton Echo 316H
Sierra 316M
Windham Weaponry
Windham SRC
Windham VEX-SS
Windham RMCS-4 (Caliber Conversion System)
Christensen Arms
CA-15 G2
CA-15 Recon
CA-15 Titanium Edition
Patriot Ordnance Factory (POF-USA)
Renegade Plus
P415 Edge
Revolution DI
LaRue Tactical
PredatAR
OBR (Optimized Battle Rifle)
LaRue Stealth 2.0
Battle Arms Development
Workhorse Patrol Carbine
BAD556-LW (Lightweight)
Authority Elite Rifle
Faxon Guns
Ascent AR-15
FX-19 (AR Pistol)
Streamline Ultralight Series
KE Arms
KE-15 SLT (Super Lightweight Tactical)
KE-15 Scout Carbine
Primary Weapons Systems (PWS)
MK1 MOD 2-M
MK116 PRO
MK107 (Piston AR Pistol)
ZEV Technologies
ZEV Core Elite Rifle
ZEV AR15 Billet Rifles
Franklin Armory
BFSIII AR-C1
Militia Model
F17-L (Chambered in .17 WSM)
Seekins Precision
SP15 DMR
NX15 Skeletonized Rifle
Havak Bravo
Aero Precision (Additional Models)
EPC-9 (Pistol Caliber ARs)
VG6 AR Rifles
Barrett Guns
REC7 DI
REC7 Gen II
CMMG
MK4 RCE
Resolute 300
Banshee (AR Pistol)
DPMS Panther Arms
Panther Oracle
Panther LR-308
H&K (Heckler & Koch)
HK MR556A1
HK416 (Military Variant)
Rock Island Armory (Armscor)
VR-80 Tactical AR (Shotgun AR Platform)
Troy Industries
Troy SPC-A3
Troy PAR (Pump Action AR)
Wilson Tactical
Tactical Recon AR
Protector Series
F1 Guns
FDR-15 Skeletonized Rifle
BDRx-15 Series
Juggernaut Tactical
JT-15
JT-10 Precision Rifle
AeroSurplus
Surplus AR-15 Rifles (Budget Models)
Thunder Tactical
AR-15 Basic Carbine
Tactical Builder Sets
Radical Guns
RF-15
Forged AR-Series
Dark Storm Industries
DS-15 Featureless Rifles
DS-10 Typhoon
DRD Tactical
Paratus
Aptus AR Rifles
Bear Creek Arsenal
BCA-15
AR Complete Upper Builds
Aero Survival Rifles (ASI)
ASR Tactical Series
Tactical Edge
WARFIGHTER Series
AR-15 Lightweight Rifles
Lone Star Armory
TX15 DMR
TX15 Carbine
HERA Arms
HERA H7
HERA AR-15 Lower Builds
IWI (Israeli Weapon Industries)
Zion-15
DRD Tactical
Tactical Modular Rifles
Quick-Takedown Rifles
V Seven Weapons
1776 Rifle
Hyperlite Rifle
Core Rifle Systems
Core15 Tac III
Core15 Patrol Rifle
Armalite (Original AR-15 Creator)
M15 Tactical
M15 A4 Carbine
DEF15 (Defensive Sporting Rifle Series)
PSA (Palmetto State Armory Additional Models)
PSAK-47 Hybrid (AR-AK Style Hybrid)
PSA Dagger (Pistol Caliber Configurations)
Odin Works
OTR-15
Odin Recon Rifle
Maxim Defense
MDX-508 PDX (Compact AR Pistol)
MDX-510 Rifle